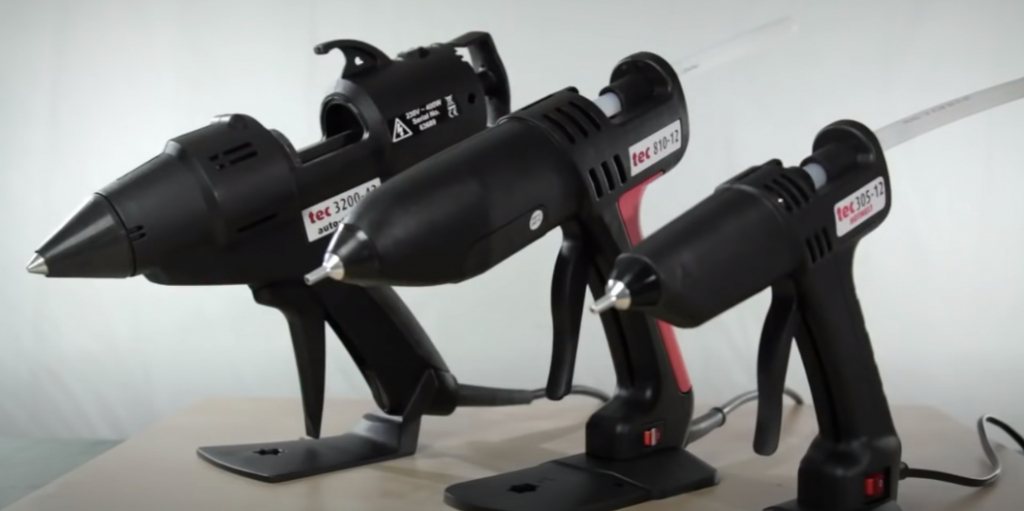
You probably know what a hot glue gun is. They can be found in any craft store and are often used to do arts and crafts projects, such as making cards or scrapbooks. The hot glue sticks that come with the guns usually include a small nozzle on the end of them. This nozzle controls how much adhesive comes out of the stick when it melts down and cools off again.
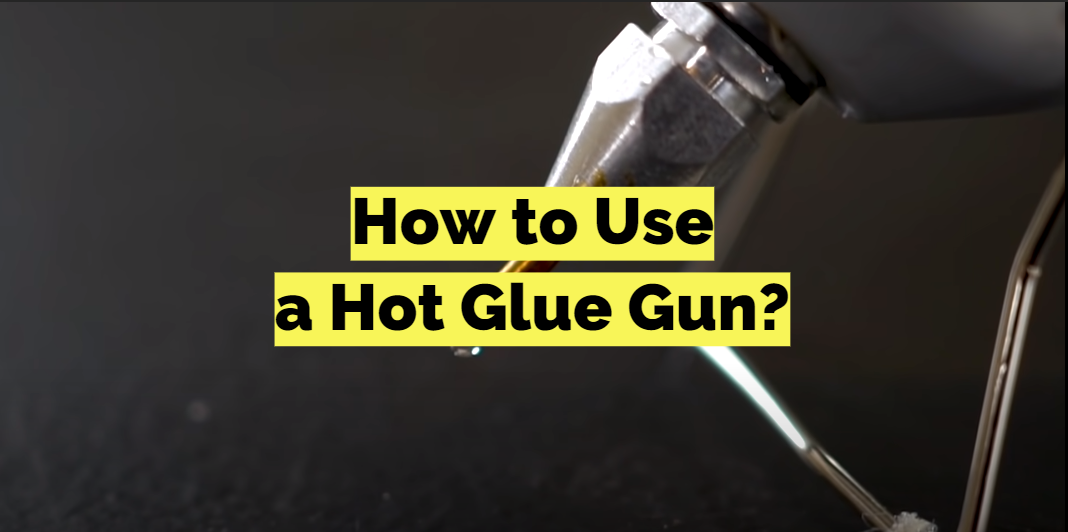
A hot glue gun is a handy tool to have in your craft arsenal. But do you actually know how to use a hot glue gun for different DIY projects? It’s actually pretty simple! Read on for some tips and tricks for using a hot glue gun.
Table of Contents
How to Use a Glue Gun: a Step-by-Step Guide
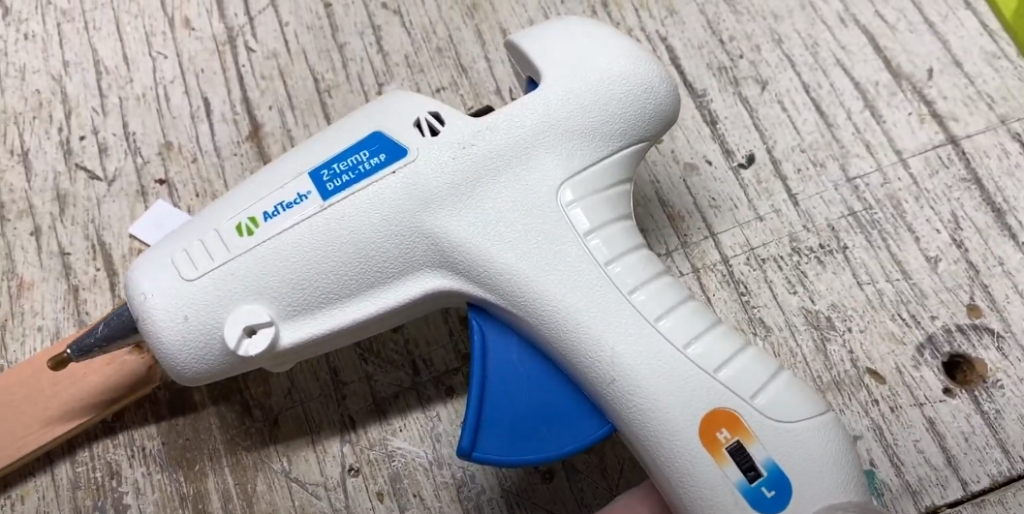
Prepare your glue gun:
- Make sure your glue gun is unplugged;
- Choose the correct size of nozzle for your project, then screw it onto the glue gun’s base. Nozzle sizes are usually written on top of each glue gun model (e.g., “size 20”);
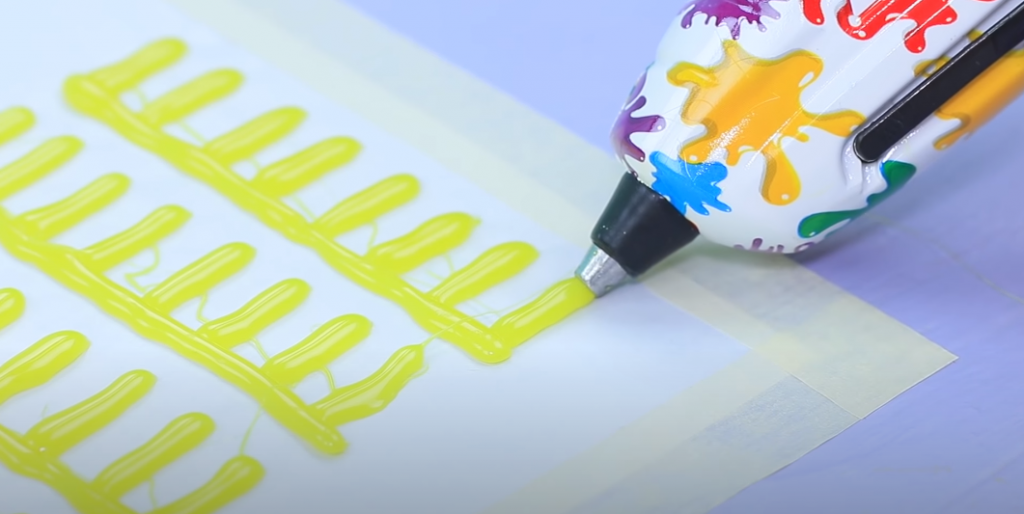
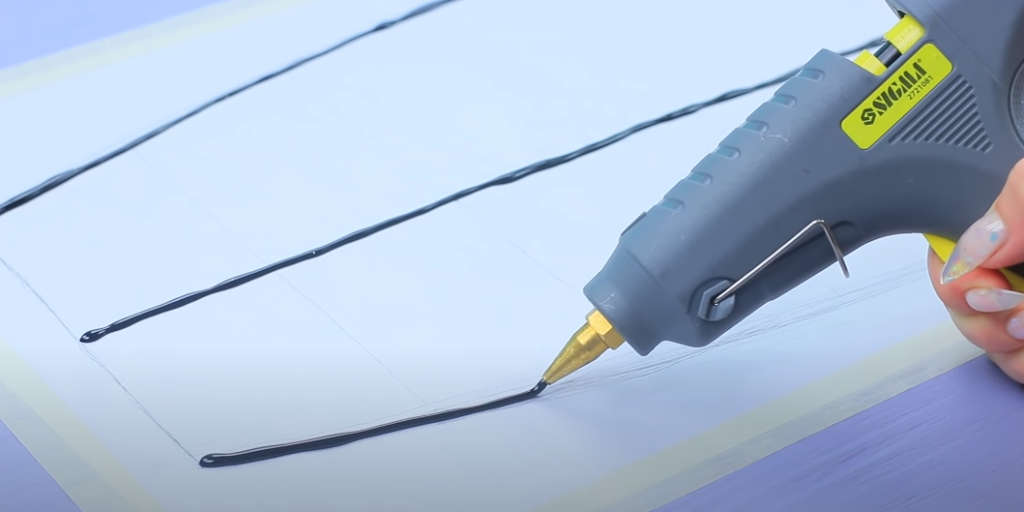
Now you’re ready to use your hot glue gun! Just remember that applying too much pressure will make a mess and prevent the polystyrene foam from sticking properly; apply light but firm pressure instead.
To keep things clean while gluing, put some wax paper under what you want to attach together before starting with this method as well (this is especially helpful when dealing with delicate items.) Also, be careful not to burn yourself or anyone around you, and remember that the glue will harden completely within an hour or so!
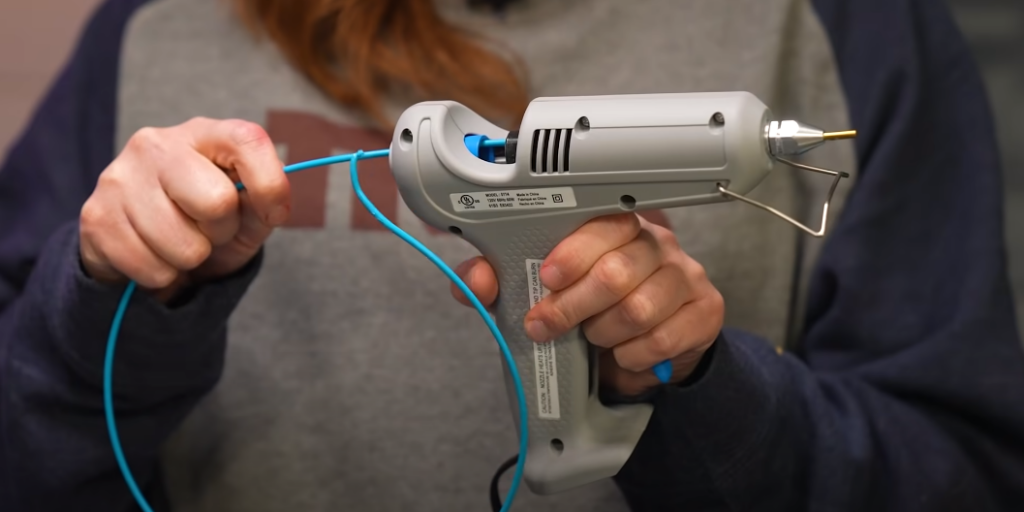
Choose the right glue stick
Glue sticks are available in two types: low-temperature and high-temperature. The former melts at around 120F, which is safe enough to use on most materials such as paper or fabric without causing damage. On the other hand, hot glue guns for fabrics require a higher temperature because of their thick – and tougher – materials.
You also need to consider how big your project will be so you can buy an adhesive stick that’s long enough to finish what you want before it solidifies again (which takes about five minutes). Bear in mind that cheap glue sticks tend to have shorter lengths compared with pricier ones.
The best way to test whether the melting point of the glue gun’s adhesive is right for your project is to simply touch it against your scrap of fabric or paper. If the glue stick does not melt immediately, try a different temperature gun and/or adhesive sticks until you get what works best for your needs!
Once you have determined which glue stick matches up with the type of material and heat setting that corresponds to its melting point, then you are ready to start gluing all around!
Set your glue gun at the right temperature
As mentioned above, the temperature of your glue gun depends on what material you are working with and how thick it is. If in doubt, start with a low setting (mid-temperature) to avoid ruining any materials by using too much heat!
If you’re using thicker fabrics like leather or suede, then go ahead and use high-temperature hot glues; they can withstand hotter temperatures than normal fabric. Just make sure that when attaching these materials together, don’t put so much pressure onto them so as not to burn through the material.
In addition, you need to consider the size of your project. For bigger projects like a quilt or an upholstered chair cushion, go ahead and use a high-temperature glue gun because they produce more heat which is better for larger surfaces that require a lot of glue. The downside? These types of hot glues can take longer to set!
For smaller items such as stuffed toys or vases, low-temperature glue guns are perfect since their adhesive sticks don’t give off many fumes compared with those from higher-temperature models. In addition, these kinds have shorter melting points so they solidify faster once applied onto materials – perfect if you want something done quickly before it dries out completely!
If you are confused about which glue gun to use for your project, then it’s best to start with a low-temperature one first. It gives more control over the application of adhesive onto materials, making sure that they do not get ruined once glued together!
Test the glue gun
Before using the glue gun for any project, you must test its melting point by touching it against your scrap material first. If the adhesive melts immediately without leaving behind a puddle of liquid then that means it is ready to be used!
If not, adjust the heat settings accordingly until you find one that works best with what you are gluing together. Test again before attaching anything else because after every adjustment of the heat setting, more time will have passed between tests, and things could’ve changed in-between!
A good rule of thumb when testing hot glue guns is to wait about two minutes per degree change or 5 minutes if no changes were made at all (you can use this method as often as needed).
To make sure that your glue gun is working properly, try using it on different materials to see if the adhesive sticks well without dripping. If you’re satisfied with what happens when you apply hot glue onto a surface then congratulations! You are ready to start gluing all around!
Protect your work surface
A very crucial part of using a hot glue gun is avoiding accidents. Make sure to protect your work surface before applying any adhesive to it. Use protective sheets or clear tape so that you can easily pick them off once the project has dried.
If you’re working on an upholstered cushion, then place newspapers and old towels underneath it as well as pillows surrounding its perimeter in order to prevent getting stains from melted glue stuck on the fabric’s sheen. Choose old fabrics for this purpose since they will be ruined once glued onto!
In addition, don’t forget about protecting yourself against burns (and messes) by wearing thick oven mitts whenever handling hot materials like melting adhesives. Also, make sure to keep kids and pets away when using tools like glue guns because they can easily burn themselves if they get in contact with the adhesive.
To avoid awkward situations, keep your hot glue gun somewhere out of reach whenever you’re not working on a project! By doing this, there will be less chance that anyone (including yourself) gets hurt while it’s unattended. This is especially important to do around children who are old enough to understand how dangerous these kinds of materials can be so make sure to always put them back where they belong after use!
Lastly, remember to unplug the device once finished with its application, or else leave it plugged in until everything has dried up completely! If left on for too long without being used then the internal components might get burnt and need to be replaced.
How to Glue Glass, Plastic, Metal, Leather, Wood, and Other Materials
There are a variety of glues on the market, each with different strengths and weaknesses. In general, hot glue is good for sticking together plastic or metal pieces that need to be held in place while they dry. It’s also great at attaching other materials such as feathers to wire skeletons used in making puppets.
Hot glue is great for quick repairs of broken objects, including shoes and iPhone cases.
A few useful tips on this matter:
How to glue glass to metal
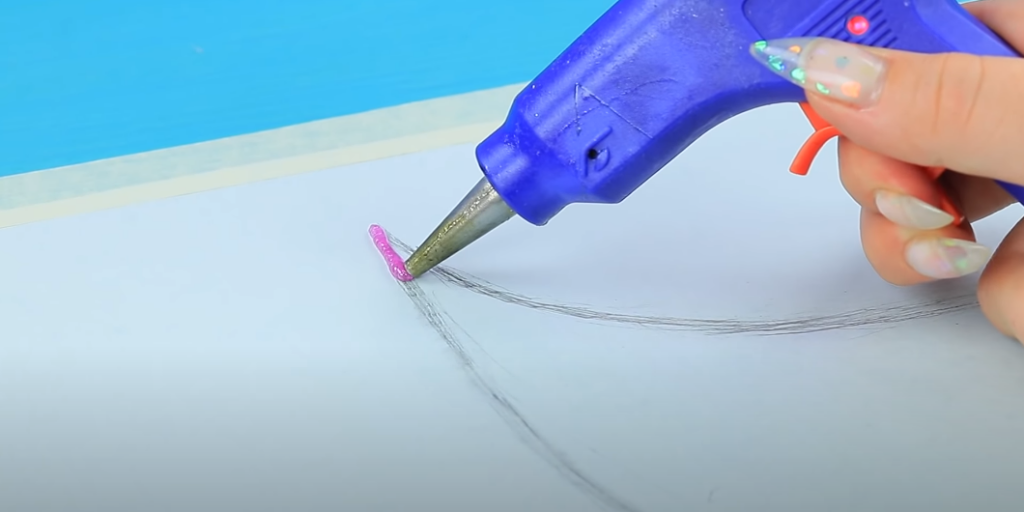
Glue the glass onto a piece of paper with some tape. This will allow you to practice on something easier before moving on to your project. Place the hot glue gun right above the center of where you want it placed, and let it sit for about ten seconds or longer if needed until it dries completely. Don’t be afraid to try out new methods!
How to glue plastic?
Place a plastic item under the tip of the gun. The molded square should be touching the surface you are working on and ensure that there is no excess glue as this will cause any problems such as drips or hardened globs. Hold down for around 30 seconds to allow it time to dry before moving on to your next project.
How to glue leather?
You need a hot surface (or tip) for your glue gun in order to melt and apply the adhesive properly. If you are using an electric model with an on/off switch, turn it on before plugging it into its power source; if not, simply plug it into any standard outlet right away.
Carefully center your piece of leather over where you want adhesion applied or melted onto each other. Position them side by side but overlap slightly so that they do not shift around while applying pressure down onto one another after gluing is complete. Make sure there is no gap between them even though you may have to press very hard.
Once you have your leather pieces centered and connected, press down on the top layer with a firm but carefully placed hand so that they are held tightly together without slipping out of place or coming apart at any point during this process. If necessary, use some sort of weight to keep them in one spot for an extended amount of time as it dries if the glue is not setting quickly enough by itself already.
Use Your Glue Gun for Basic Repairs and Crafts
Glue guns can be used for a wide range of projects. For example, you could use a hot glue gun to secure loose chair legs or broken picture frames. A glue gun is also useful for creating things like vases and decorative crafts out of clay.
Some people even choose to use their hot glue guns on fabric projects! This provides an easy way to fix tears in clothes without having to take them into the dry cleaners or sew them by hand. It’s especially great for sewing up bags that have holes in them, making them good as new again!
Use Your Glue Gun for Household Hacks
- Seal up holes in wood paneling or furniture. The glue will dry clear and paint over it without a problem;
- Make your own wall art by stringing beads on a thin wire, gluing the ends together with hot glue, cutting off any excess wire after drying, and hanging it on the wall using command strips;
- Make an easy frame out of popsicle sticks glued together edge to edge. You can use this one for photos or even decorate with paint if you like;
- Hot glue also works really well as “superglue” on porous surfaces like wood – just make sure you clean the surface before gluing so that dirt doesn’t get stuck under the glued pieces when they dry. Don’t use this method on delicate materials because heat can cause items to warp;
- Use a hot glue gun to seal the edges of your envelopes before you send them out! You can also use it as an adhesive for those dreaded plastic package ties so that they don’t have to be cut each time they need opening;
- It works well on fabric, but make sure not to touch the tip when it’s still warm, or else you’ll burn yourself! It will dry fast and hold pretty much anything together, even if your project is going through some rough handling because then there’s no worry about ripping seams open with movement;
Create Objects Out of Hot Glue With Molds
Hot glue sticks are great for creating sculptures that you can later hang on the wall or place around your home decor. Use a hot glue gun to create unique displays for your home, or use it as a fun project with the kids.
Glue molds are easy and inexpensive to make. Once you have created your mold, all you need is some basic materials from around the house— paper clips, pencils, Q-tips – and you’re good to go! Simply place the items into the mold and pour in enough melted hot glue to cover them completely. Allow several hours for everything to dry before removing your finished product from its mold.
How to Remove Glue From Your Glue Gun?
The best way to remove any excess glue from your hot glue gun is by using an X-Acto knife. Simply run the blade along the edge of where you used too much. This will cut down on build-up and make sure that no one gets burned! If you want to know how to clean a hot glue gun, check this guide.
FAQ
How long does it take a hot glue gun to dry?
A hot glue gun takes about 30 seconds to dry.
How do you know when a glue gun is ready?
When it’s too hot to touch with your bare hands for more than 5 seconds, then it’s probably time to start gluing! A simple test that can be done on almost any household glue gun is by sticking a piece of paper in between the tip and trigger mechanism.
If the paper immediately catches fire or melts within three seconds, don’t use that particular glue gun because there are likely plasticizers impregnated into its nozzle components which cause thermal degradation of some plastics when they come in contact with high temperatures.
What does a hot glue gun not stick to?
The hot glue gun will not stick to the following materials: wood, foam core board, packing peanuts, or anything that has moisture.
Is hot glue permanent?
No, hot glue is not permanent. It can be removed with heat or by peeling it away from the surface of whatever you are gluing together.
What can I use instead of a hot glue gun?
A hot glue gun works best for projects that you want to last and be sturdy. It can also work well with uneven surfaces and irregular shapes, as it will create a strong bond. There are alternatives such as double-sided tape or superglue that could substitute the functions of a hot glue gun in smaller amounts but may not work as effectively on larger projects like those created by using a hot glue gun.
How long will hot glue hold?
Hot glue holds very well but it is not permanent. This means that you can’t rely on hot glue to keep things together forever without some extra work involved. If the pieces are put in place properly, then they should hold for a while. However, if there’s too much stress or constant movement involved then sooner or later the hot glue will fail and your project will be ruined!
Why does my hot glue dry so fast?
A hot glue gun is an expense that you may want to try and save on. However, the cheap hot glue sticks dry really fast. You can solve this problem with a few tricks:
- Be patient when heating your hot material up – it takes more time than you think! If necessary, heat up multiple times for better results;
- Do not let the cartridge run out of liquid before changing it – otherwise, there will be no way to refill or replace it without buying another one;
- Try not to use a hot glue gun for too long at a time – it may overheat and damage your cartridge;
What is the difference between hot melt and cool melt glue guns?
Hot glue guns are great for smaller crafts, but they can get pretty hot. This means extra care should be taken around children and pets as the glue is easy to splash about if it gets too close. Cool melt adhesive is a more viscous product, which is less likely to cause any nasty accidents when in use. It also requires a little bit of time before cooling down completely after application so there’s no risk of burning yourself this way either!