Are you a lover of crafts and always looking for new projects to keep your creative juices flowing? Then we have something super fun for you! Why not try your hand at decorating purses with the help of a hot glue gun? So get ready to dust off those ancient leather pieces in the back of your cupboard –there’s now a fast, inexpensive, and trendy way to turn them into masterpieces fit for any fashionista!
Table of Contents
What is a glue gun and how it works
A glue gun is a tool that melts and dispenses hot glue, which is used to bond materials together. It operates by heating a glue stick until it melts, allowing the adhesive to flow out of the nozzle when the trigger is pressed. The glue dries quickly and forms a strong bond, making it an ideal choice for many applications.
Is hot glue good for decor?
This tool is a great tool for decor projects. It creates a firm bond between various materials, from fabric and leather to plastic and wood, making it versatile for different decorating needs. With its quick drying time, hot glue allows for the rapid creation and assembly of decorative elements. It’s particularly useful for attaching embellishments on purses, such as rhinestones, fabric patches, or other decorative accessories. [1] However, it’s essential to remember that hot glue is quite noticeable once dried, so it’s best used in areas where it won’t be distinctly visible.
Tips for Using
- Safety First: Always use a heat-resistant surface for your projects, and handle the glue gun with care to avoid burns. Keep a bowl of cold water nearby in case of accidental contact with hot glue.
- Choosing the Right Glue: Different materials may require specific types of glue sticks. Ensure to purchase the correct type for your project.
- Clean the Nozzle: Regularly cleaning the nozzle prevents dried adhesive build-up, which can affect the quality of your work.
- Glue Application: Apply glue in small amounts to avoid overflow and wastage. Remember, the glue is hot and dries quickly, so you’ll need to work at a fast pace.
- Creating Clean Lines: Use masking tape to create clean, straight lines, especially when working on design and decor projects. Once the glue has cooled, carefully remove the tape.
- Storage: After use, allow the glue gun to cool completely before storing it. Keep it in a safe place out of reach from children. [2]
How do you decorate with hot glue?
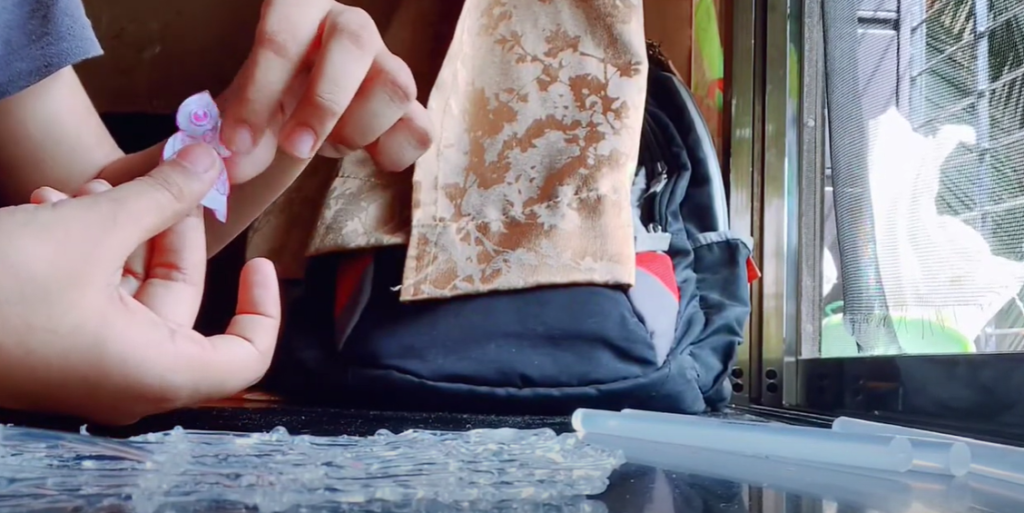
Decorating with a hot glue gun requires a bit of inspiration, creativity, and caution. First and foremost, collect all the materials you need, including the purse you want to decorate, a hot glue gun, suitable glue sticks, and any embellishments you plan to use such as beads, rhinestones, or fabric pieces.
Sketch out the design you want to create on your purse beforehand to ensure a clear vision of the desired end product.
Then, start working on smaller areas, applying a small amount of hot glue and quickly placing your embellishments before the glue cools down and dries.
DIY Purse Decor Ideas
1. How to Make a Glue Wallet
Materials:
- Old purse
- Hot glue gun
- Glue sticks
- Rhinestones
Instructions:
- Prepare Your Workspace: Clear a space where you can work comfortably. Lay a heat-resistant mat to protect your work surface from potential hot glue spills.
- Arrange Your Materials: Gather your old purse, the hot glue gun, glue sticks, and rhinestones.
- Sketch a Design: Think about where you want to place the rhinestones. You can create a pattern, write a word, or just add them randomly.
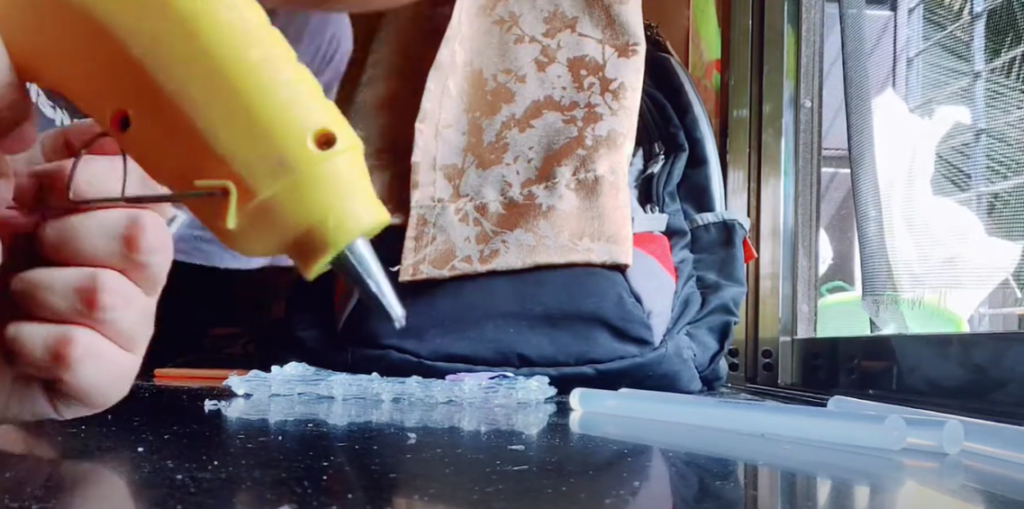
- Heat in the Glue Gun: Plug in your gun and allow it to heat up. Be sure to place it on a heat-resistant surface.
- Begin Gluing: Once tool is hot, apply a small dab of hot glue on the area where you wish to place the first rhinestone.
- Attach the Rhinestones: Immediately place the rhinestone on the hot glue. Be careful not to burn your fingers.
- Repeat: Continue these steps until you’ve completed your design.
- Let it Dry: Allow your purse to dry completely before using it.
2. Decorate wallet with jewelry
To decorate a wallet with jewelry, you need an old wallet, a hot melt glue gun, sticks, and some pieces of jewelry like pendants, charms, or broken pieces from old jewelry. Embark on planning your design, deciding where each piece of jewelry will go. Then, apply a small amount of hot glue to the area on the wallet where you want to attach the jewelry. Quickly place the jewelry piece onto the glue and hold it until the glue cools. Repeat this process until you’ve achieved your desired design. [3]
3. Beaded Monogram
Monogramming your purse with beads can add a personal touch to your accessory while introducing a hint of sparkle. Consider getting beads that contrast with the color of your purse to make your monogram pop. First, sketch out your initials on the purse. Then, working one letter at a time, apply a line of hot glue and carefully place your beads on top. Once all the letters are done, give your purse ample time to dry before you start to flaunt your personalized, beaded monogram purse.
4. Floral Embellishments
For this DIY project, it’s necessary to have a purse, a glue gun, glue sticks, and fabric flowers. These flowers can be purchased from any craft store, or you can make them yourself using fabric scraps. Plan your design by deciding where you want to place the flowers in your purse. Then, apply a dab of hot glue on the purse, place your flower onto the glue, and hold until it cools down.
5. Sequined Sparkle
For this, you’ll need an old purse, a gun, glue sticks, and sequins of your choice. Begin with visually planning your design—this could be a random scattering of sequins for a playful look or a more structured design for a sophisticated aesthetic. To achieve the best results, follow these steps carefully: first, apply a small amount of hot glue to the area where you intend to place each sequin. Then, take the sequin and gently position it onto the glue.
6. Lace Accents
Begin by measuring and cutting the lace to fit your purse, remembering to consider both the length and width.Then, apply a thin line of hot glue on the purse where you want to attach the lace. Press the lace onto the glue, taking care to avoid any wrinkles or bubbles. Repeat this process until you’ve covered all desired areas with lace. Give them time to dry completely before use.
7. Pom-Pom Fun
To decorate your purse with pom-poms, you need an old purse, a gun, glue sticks, and a selection of pom-poms. Start by planning your design—whether it’s a random scattering of pom-poms for a playful look or a structured pattern for a more sophisticated aesthetic. To proceed with the project, apply a small amount of hot glue to the desired location for each pom-pom. Afterward, gently press each pom-pom onto the glue to secure it in place. Take care not to burn your fingers.
8. Button Mosaic
For this project, you’ll need an old purse, a variety of buttons (consider different sizes, shapes, and colors for an interesting effect), a hot melt glue gun, and sticks. Start by ideating your design – you could go for a specific pattern or a random arrangement. Place some amount of hot glue on the area of the purse where you want to stick the first button, then push the button onto the glue. Repeat this process with all the buttons until your design is complete.
9. Ribbon Stripes
It’s impotant to have an old purse, some ribbons of different colors and widths, a glue gun, and sticks.Commence with measuring and cutting the ribbons to match the size of your purse. Decide on the arrangement of the ribbons and then, one by one, apply a line of hot glue and carefully affix each ribbon onto your purse.. With this, you can transform a plain purse into a stylish striped accessory in no time.
10. Studded Chic
Start by deciding where you want to place the studs on your purse. Next, take a small amount of hot glue and apply it to the back of the stud. Press the stud firmly onto the chosen area of your purse. Repeat this process as needed to create your desired design. Let your purse dry fully before using it.
11. Leather Patchwork
The first step is to cut the leather scraps into shapes that fit your design idea. This could be a traditional patchwork pattern, abstract shapes, or a thematic design. After cutting out all your patches, begin attaching them to your purse one piece at a time utilizing a little portion of hot glue. Make sure to push down firmly to ensure a strong bond, and pay attention to the edges to prevent any peeling or lifting.
12. Geometric Patterns
Take an old wallet, different colored fabric or leather for the patterns, a hot melt glue gun, and glue sticks. Begin with deciding on a geometric pattern that you like – this could be triangles, squares, hexagons, or a mix of shapes. Cut out these shapes from your chosen material and begin gluing them onto the purse, creating your geometric pattern. Take your time to align the shapes accurately, and allow it to dry.
13. Rhinestone Glam
For this DIY, you’ll need an old purse, a variety of rhinestones, a gun, and glue sticks. Spread a small amount of hot glue where you want to place each rhinestone, then carefully press the rhinestone onto the glue. Once you’ve finished applying the rhinestones, leave everything to dry.
14. Felt Appliqué
For this project, you should have an old wallet, felt in various colors, scissors, a glue gun, and glue sticks. Choose a design and cut the felt into these shapes. You might choose to create a floral pattern, an abstract design, or even a character or object. Spread a small portion of hot glue onto the back of each felt piece, then carefully press it onto your purse.
15. Nautical Rope Trim
You’ll need an old purse, a nautical rope, a glue gun, and sticks. Initiate with deciding where you want the trim to go on your purse, then measure and cut your rope to size. Spread a line of hot glue where you plan to stick the rope, then carefully press the rope onto the glue.
16. Puffy Paint Art
To embark on this, gather the following materials: an old purse, puffy fabric paints available in assorted colors, stencils or materials for freehand designs, and if desired, a hot melt glue gun along with glue sticks. Select a pattern or design for your puffy paint art. Once you have your design ready, start filling it in with puffy paint. If you’re using stencils to create the pattern, you can use a gun and glue sticks to affix them onto your purse before painting.
17. Feather Fringe
The main component here is a variety of feathers. Commence with gluing the feathers onto the purse using a small amount of hot glue. Be sure to press each feather onto the glue firmly to ensure it sticks properly. This project can transform a dull purse into a vibrant, eye-catching accessory.
18. Braided Straps
Make sure you have the following materials ready: an old tote bag with detachable straps, faux leather or fabric strips, and a glue gun. Remove the old straps from your purse. Cut your chosen material into long strips, and create a braid by intertwining three strips. Once the braid is long enough to serve as a strap, secure the ends with hot glue. Repeat this for the second strap. Finally, attach your new braided straps to your purse.
19. Leather or Suede Tassels
Such details can add a Western or boho-chic flair to your purse. Begin by cutting the strips into equal lengths for uniformity. Apply a small amount of hot glue to one end of each strip, then fasten it to your purse. Repeat the process until you have enough tassels for your desired look.
20. Stenciled Designs
For this DIY, you’ll require an old purse, stencils of your preferred designs, fabric paint in various colors, a sponge or brush, and a piece of cardboard. Firstly, place your stencil on the purse and secure it with tape to prevent movement. Then, dip your sponge or brush into the paint and dab it onto the stencil. Be careful to avoid paint bleeding under the edges of the stencil.
Frequently Asked Questions
What material does hot glue not stick to?
Hot glue does not adhere well to smooth surfaces such as metal, plastic, or glass. It also struggles to stick to certain types of fabric like nylon. Additionally, hot glue may not bond effectively to surfaces that are wet, oily, or very cold. It’s important to ensure that the surface you’re applying hot glue to is clean, dry, and at room temperature for best results.
Can you color hot glue?
Yes, you can color hot glue. While there are colored glue sticks available on the market, you can also create your colored hot glue. To do this, simply color the hot glue while it’s still warm with a piece of crayon or a marker. The color of the crayon or marker will melt into the hot glue, creating colored hot glue. However, it is crucial to be careful while doing this to avoid any burns.
How long does hot glue last?
Hot glue is known for its durability. Once applied and cooled, hot glue can last for several years, making it an excellent choice for craft projects and minor repairs around the home. However, the exact lifespan of hot glue can depend on a variety of factors, such as the type of materials it’s been applied to, the environment in which the glued item is stored, and the quality of the glue itself.
Does hot glue stick to fabric?
Yes, hot glue does stick to the fabric. It is a common adhesive used in various fabric crafts due to its strong bond and quick drying time. However, it’s important to be cautious while using hot glue on fabric because it can cause burns if not handled properly. Also, hot glue may not be the best adhesive for delicate or heat-sensitive fabrics as it may cause damage.
What color does hot glue dry?
Hot glue typically dries clear, making it a versatile adhesive for various crafts and DIY projects. However, the final color can depend on the type of glue stick used. There are colored and glitter glue sticks available that dry in different shades and finishes. Regardless of the color, hot glue dries quickly and forms a strong bond, making it a staple in many crafters’ tool kits.
Useful Video: decorating hot glue gun purse
Conclusion
In conclusion, if you want to brighten up an old purse or create a unique and interesting design, DIY is the way to go. With the help of a hot glue gun, you can not only add dimension and texture but also make something truly one-of-a-kind that no one else will have. Whether you’re looking to decorate an old bag or add some life to your current handbag routine, the ideas discussed above are a great starting point for turning your accessories into personalized works of art! Why buy when you can craft? Hot glue guns can be a simple way to bring personality and charm into creating fashion trends of your own. Best of luck in all of your creative endeavors!
References:
- https://www.buildworld.co.uk/blog/archives/Everything-You-Need-To-Know-About-Glue-Guns
- https://diy.bostik.com/en-SG/how-to/discover-how-use-glue-gun-our-simple-step-step-guide
- https://diy.bostik.com/en-UK/how-tos/6-hot-glue-gun-crafts-at-home